Recording audio for Powerpoint Presentations
You can directly record audio for your presentations in the PowerPoint program by speaking over your slides. The result will be a video that you can make available to your students.
-
There is a video tutorial (CC BY Paul Borsdorf) available for Office 2013 - 2019 that explains how to create a video from a PowerPoint presentation (Powerpoint audio recording).
-
For details on recording your presentation using Office365, you can find more information here.
Recording a presentation (Example using Office 2016)
To create a video with audio commentary from your presentation, go to the "Slide Show" tab and use the "Record Slide Show" command:

"Start recording at the beginning" opens a dialog when clicked - use the default settings (both options are activated) and start the recording.
Now the presentation and recording will start. Speak to the slides and click through until you have recorded everything as desired.
-
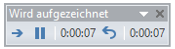
At the top, you can pause the recording or reset and re-record the slide recording with the back arrow.
-
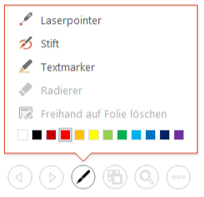
At the bottom, there are various buttons to navigate between slides, or use a "laser pointer" to show something or draw in the slides with pens.
Once you exit presentation mode, you will find a speaker icon on each slide. Your audio recording is saved there and you can listen to the recording again. Now check the following settings:
-
Mark the speaker icon.
-
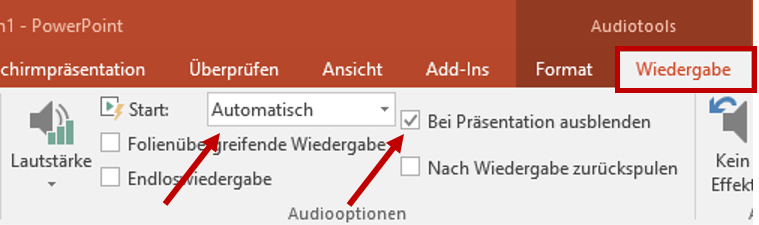
Go to the "Audio Tools - Playback" tab.
-
In the "Audio options" group, "Start - Automatically" should be selected and "Fade out on presentation" should be enabled.
-
In this tab, you can further edit the audio, such as cutting, fading in and out, or changing the volume.
Exporting the Presentation as a Video
Finally, go to the "File - Export" menu and select "Create Video". The default settings can be accepted. To save on storage space, change the quality to "Internet Quality". This quality is sufficient for presentations.
Including the Video in OpenOlat
The finished video can be uploaded as a learning resource video (HelpCard 32-020) and included in your OpenOlat course using a video element (HelpCard 32-030).
If you produce many large video files, it makes more sense to upload the videos to Opencast and then include them in OLAT.